Thursday, 24 January 2013

Colour correcting and Grading my footage in Apple's Colour

In order to make my video have the desired look and to stylise it, I knew I had to use a sophisticated bit of software to colour correct my footage. The software I used came with my Final Cut Studio package. It is called Colour and is designed to colour grade and correct.

These are the step I took to get the final colour:

This is the original look of the raw footage

Using the tools available, I could correct the yellows of the mid tones to a much whiter colour


I decided to use one of the music videos I researched to colour grade from


The main focus of my task was to stylise the backrgound but keep the skin tones right. Letting the skin go blue or green would ruin the grade.


I had to keep checking the scopes to see if any colours were blown out or not vibrant enough


I moved onto the next clip due to the better raw colours, used the grade from my last and adjusted it until the skin tone was pink-ish and the background was blue.

Tuesday, 22 January 2013

Third edit

I finally made my third edit. In this I have come to colour correct the footage and add some cleaner sound effects and also some differnt visual effect:

Friday, 11 January 2013

Bullet Hole Creation


  There is a point in the video where the main protagonist fires two shots. The both miss but one hits the wall. I wanted to give a sense of verisimilitude so I wanted to add a quick one in post.

I started by motion tracking the small rivet on the wall. I purposely filmed this because I knew I wanted to track it to add a bullet hole.


I then added the bullet hole from a picture I took form a video game and finally added motion blur.

I research some more bullet holes and saw that they always have dust or smoke coming out of them. I used the same smoke as I use for my muzzle flares.


I put this all together and used the same tracking data for the smoke.

Finally I added a glow and ended up feathering it until it was hardly visible.


Finally, I put it all into FCP7.

Saturday, 5 January 2013

Creating the Power Orb

The main focus of the entire video is the power orb that the main protagonist is chasing after the other character for. It (fictionally) gives the owner super strength and what not. What it does isnt important, all I want the audience to know is that it is the reason for the chase and fight.

In order to make the motive more obvious, I had to implement the orb into the video with 3d moiton graphics. I did this using Boujou to motion track the 2D footage, Cinema 4D to create the orb and After Effects CS5 to add effects.

This is how I made the orb:

I firstly tracked the footage in Boujou

Then I editied some of the code in Text Wrangler so that it would track perfectly


I then brought the camera data into Cinema 4D and added the necessary background and floor for the video texture to go on


I then tested the track and it worked perfectly

This is when I implemented the orb. I started with a purple colour, however I tried with multiple colours and ended up using Blue.
 I then animated the orb and exported it on a separate track so I could edit both the BG and the orb separately in AE
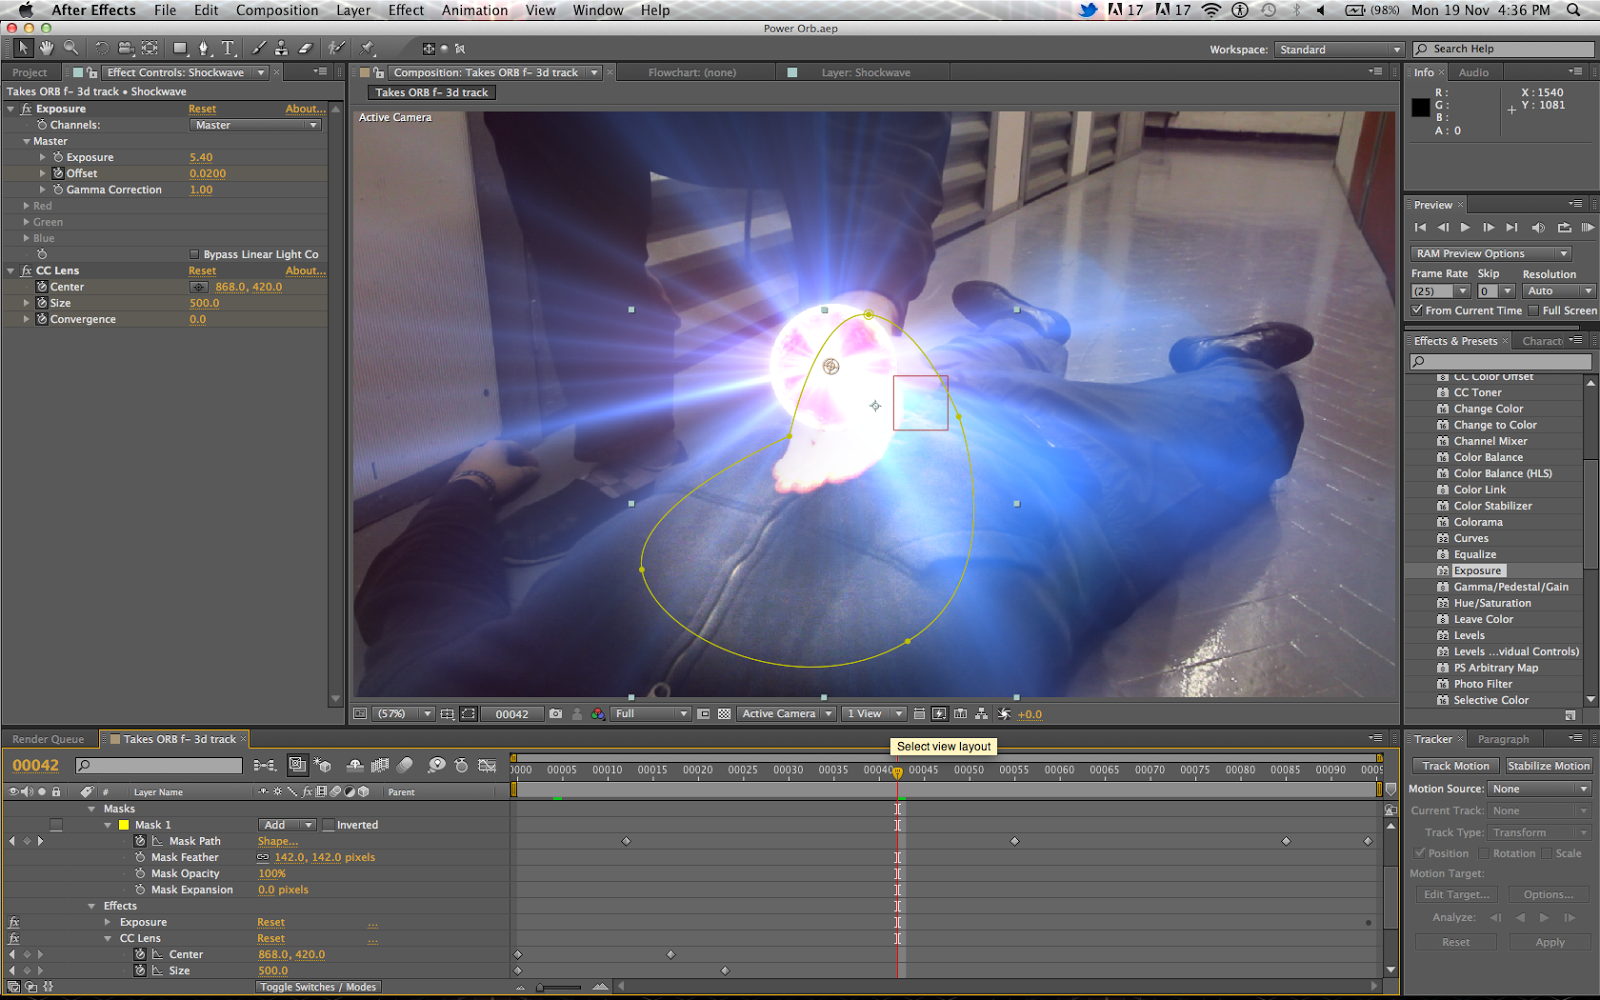
 I brought both peices of footage into After effects and added the necessary effects


I ended up with this, however I decided to use a blue orb in the end as it looked nicer with the colour scheme.